
Custom Paulownia Flying Victoria Electric Guitar
By Vicki Lynn

A mockup of the guitar with the neck installed and the Humbucker pickup resting in place; I feel it's important to install the
neck first and then the bridge to ensure correct distance for proper intonation and string placement on the fretboard, for even
spacing of the strings from the edge down the entire length of the neck.
A close-up image if the guitar neck, I would not advise what I did when eBay sent an email saying; "This seller is open for
offers." And because I wasn't able to purchase the Paulownia Flying V body for full price at the time, I thought I would send an
offer; the offer was accepted by the seller in China, however, I wasn't aware that the seller would send a subpar product without
notice warning me, "We can send you an item at that price but it will have flaws!"
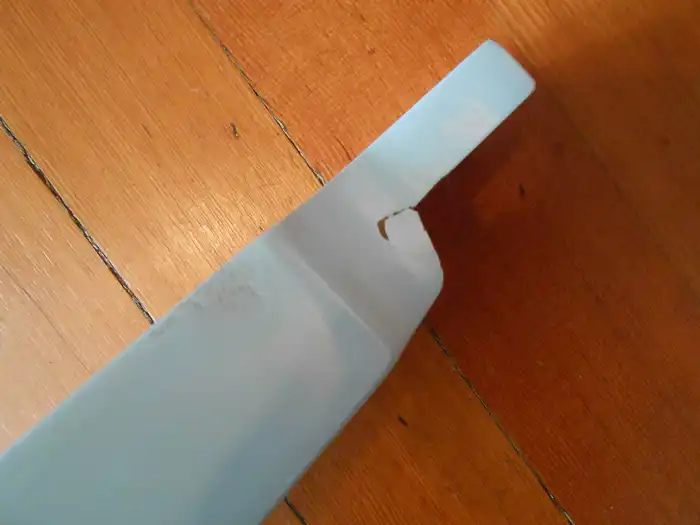
Because the body was subpar and below the standards required for building a guitar without complication, this body arrived needing
more "tweaking" than most bodies you would purchase require. Thankfully, I had enough experience under my belt to correct the
flaws; otherwise, this body would not have been usable by the novice builder.
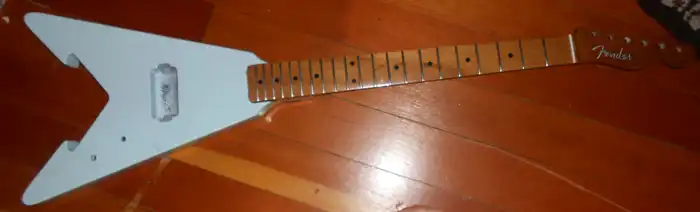
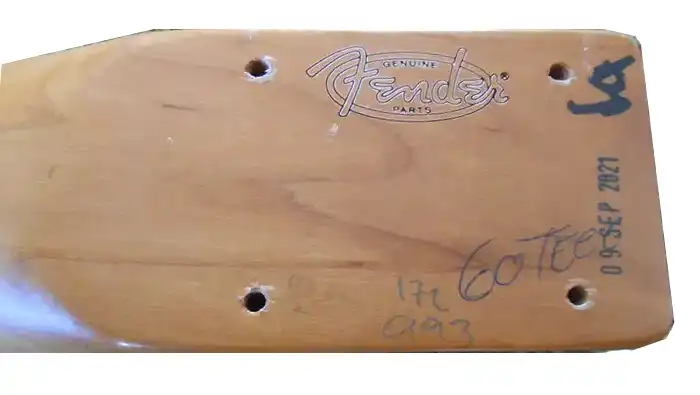
Here is a front view of the guitar with a Fender roasted maple neck installed. I chose a roasted neck because they are usually
much lighter than the same maple neck that is not roasted. I have read online in forums that the roasted necks are not lighter;
however, they are indeed lighter, lighter because the necks have far less "moisture". I have also noticed that older necks are
much lighter when they have "aged" over the years and are no longer "green".
When you are building a "lightweight guitar" with an extremely lightweight Paulownia body, you must plan for a lightweight neck
and headstock, due to the fact they stick out far from the body, and you do not want to create "neck dive".
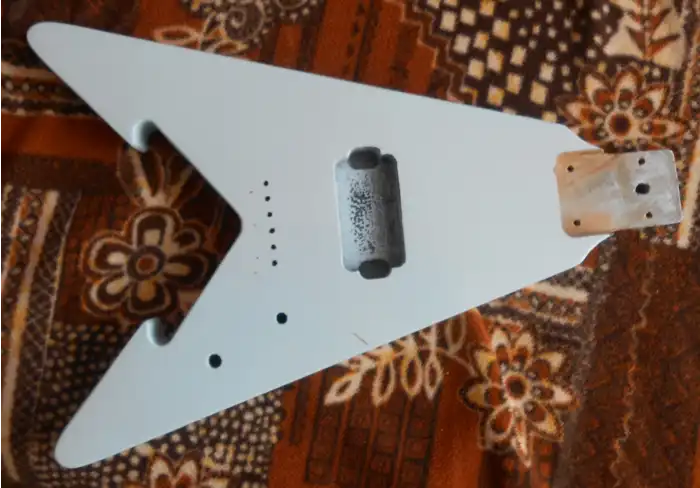
Here is an image of the Flying V body after installing a Wilkinson 52.5mm (2-1/16 inch) string spacing hardtail fixed bridge
solid saddle bridge, in addition to a Wilkinson vintage tone Humbucker pickup.
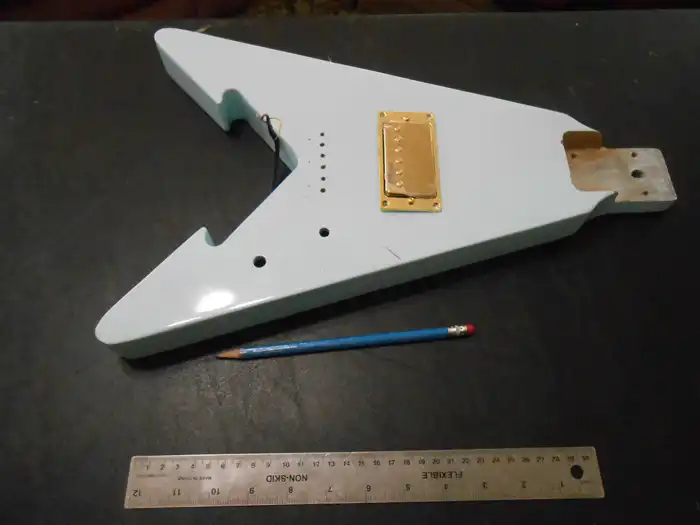
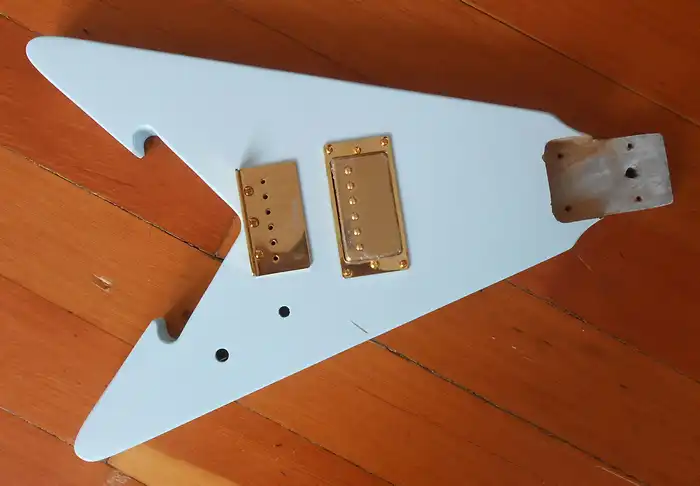
Here is an image after installing the "gold" Wilkinson Vintage Tone Alnico 5 PAF Humbucker Bridge Pickup.
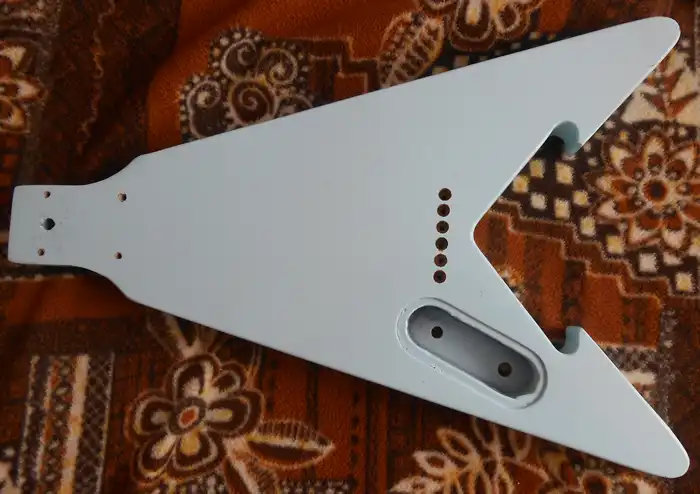
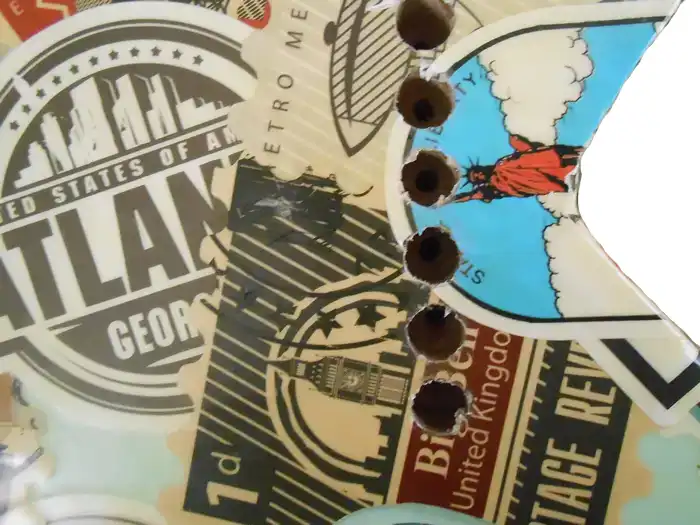
Here is an image of the guitar body with the string ferrules drilled in place. One of the reasons you want to install the bridge
early in the process, besides making sure the strings are aligned, is that you want to have a "guide" for drilling the holes
through the body for the string ferrules.
I use a guide for drilling the holes for the ferrules. I purchased an aluminum guide from an eBay seller which can be used for
both vintage and modern string spacing. The guide was expensive, about $40 USD, but it makes string alignment and perfect
drilling possible with minimal effort.
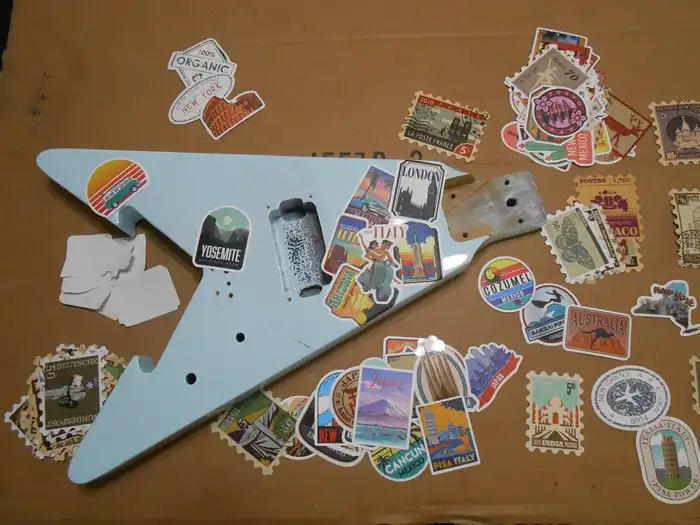
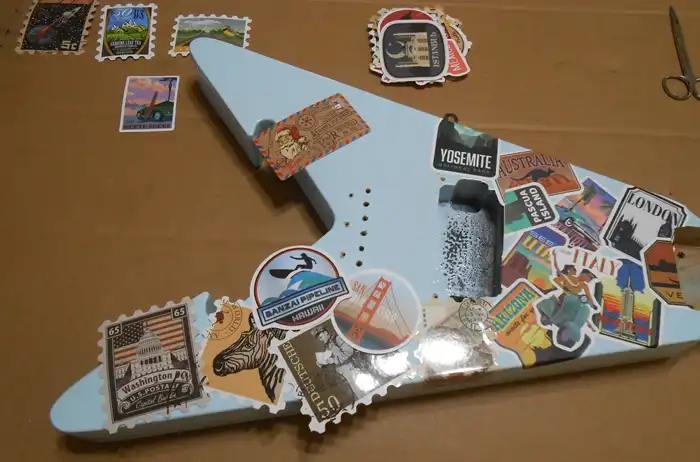
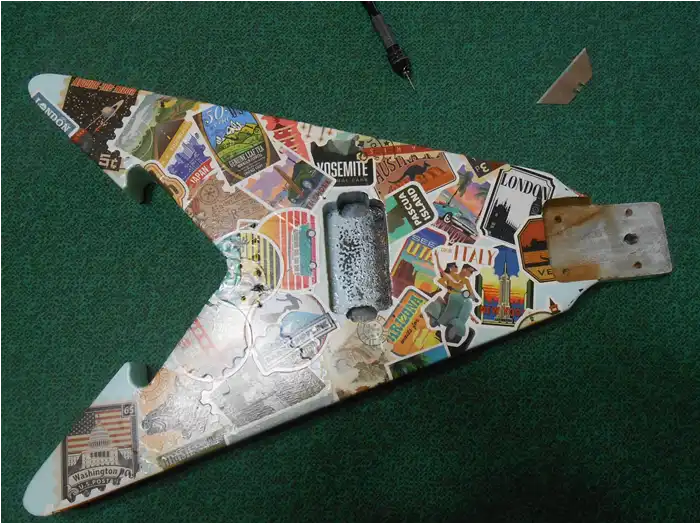
Time to lay out the stickers I plan to use on the body; I wanted to create a "Going Postal" look or an appearance of a "Traveling
Steamer Trunk". I drew out plans where I thought the stickers would be more visible and less visible, such as on the back and
where the player's right-hand would cover the stickers, and on the front where they would be more visible, which is where I would
put the stickers, I liked the best.

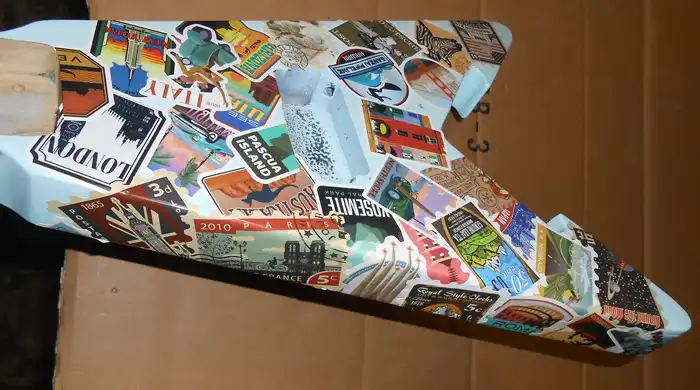
Continuing laying out the stickers starting from the top to the bottom; I felt that beginning where the area was the tightest to
where it expanded out would be more efficient than having to "squeeze in" at the top and avoiding the "fins" which would have to
be narrowed down to one sticker at a time.
Getting to an area where I must narrow down to just one sticker at a time but still giving it a layered look like the stickers
were casually added over time to a "Traveling Steamer Trunk" will be difficult to achieve in these areas.
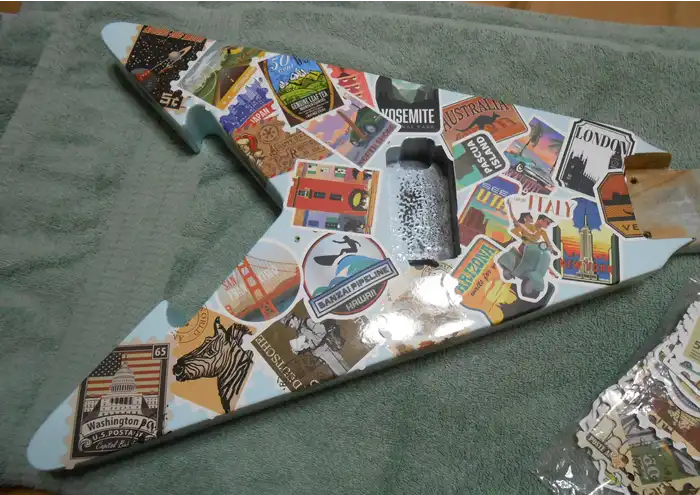
I am getting to the completion of stickers stuck in place while keeping in mind the areas where parts of the pickup and the
hardtail bridge will cover the stickers, the places where the stickers are less important to me visually.
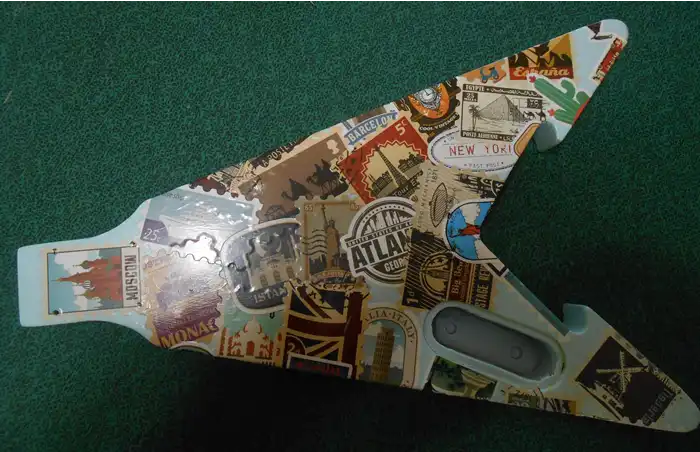
Front and side view of the stickers near completion.
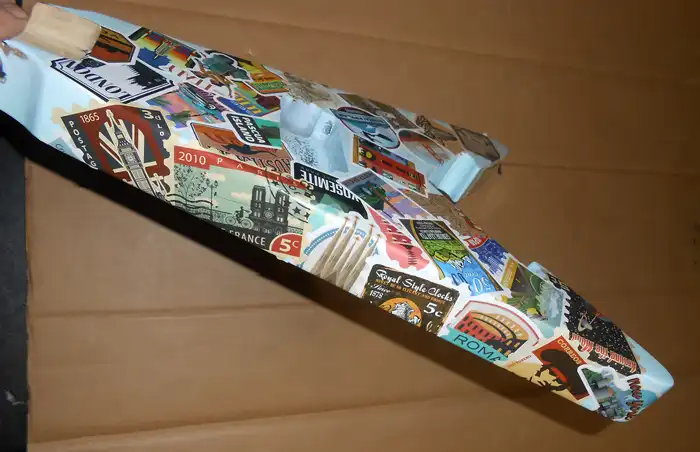
Here is another view of the side and front with the stickers in place.
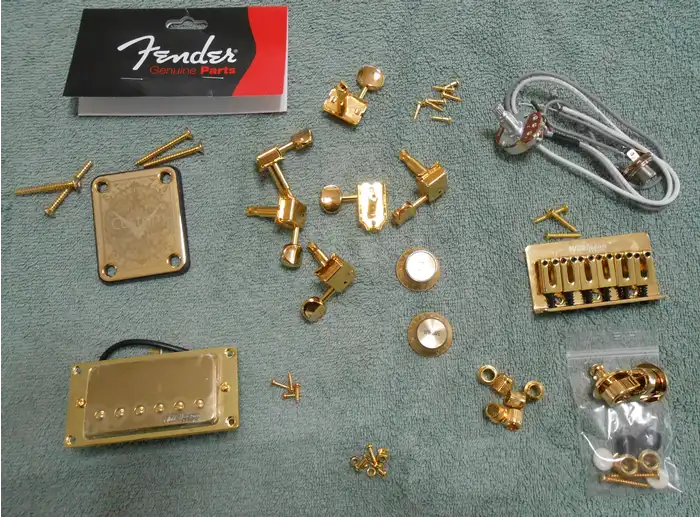
The gold parts which will be installed on the Flying V including a custom "gold" 4-screw neck plate purchased for an earlier
project in which the body would have been too heavy for my disabled back, and the project was abandoned; however, the wood was
127 years old! Showing is a Wilkinson Vintage Tone Alnico 5 PAF Humbucker bridge pickup for Les Paul electric guitar.
Also showing are Gotoh Vintage oval knob tuners (6-in-a-line). With a lightweight Paulownia body, lightweight vintage tuners are
necessary. Below the vintage tuners are Top Hat Speed Control knobs for Les Paul. And near the bottom middle are True Custom
Shop® string ferrules for Fender electric. And below the electronic wiring is the Wilkinson 52.5mm (2-1/16 inch) string
spacing hardtail fixed bridge and finally followed by True Custom Shop® Vintage string trees, and genuine Fender Schaller
strap locks.
The front of the body after the first coat of Krylon Clear Polyurethane, I like to use Krylon Poly because it emits little odor,
and they claim it will not yellow over time.
Here is the back after a "good" few coats of Clear Polyurethane were applied.
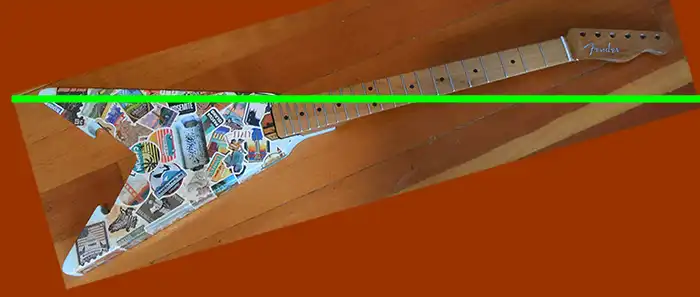
Here I am checking the angle of the guitar when placing the guitar strap buttons at the angle of the artificial line.
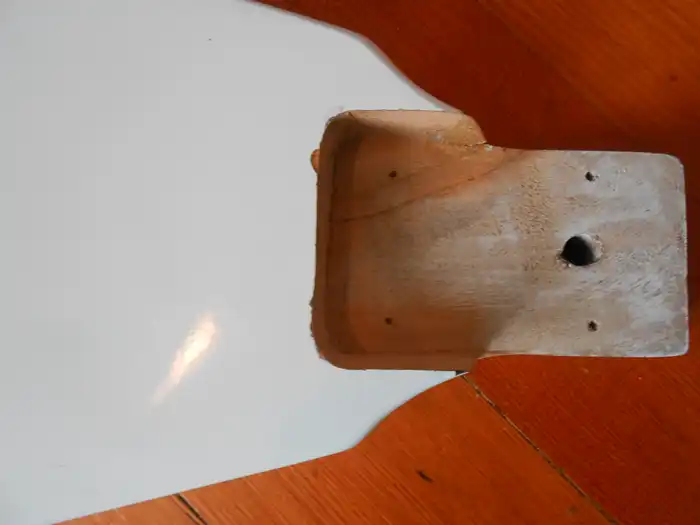
The heel of the Fender Roasted Maple Vintera Mod 60s Telecaster neck, twenty-one medium jumbo frets with a 9.5-inch radius "C" shape.
The Fender roasted maple neck was crafted by highly skilled Luthiers in the Fender Factory in Mexico on a Computer Numerical
Controlled Machine (CNC); many of the guitars made in the original Fullerton, California Fender Factory were crafted by Mexican
Luthiers, guitars which were played by many famous musicians of the 50s, 60s, 70s, and 80s. And any bias and "snobbery" towards
their craftsmanship is just that, bias, and snobbery; the only major difference is the cost of labor, which can affect the
overall cost of the product.
Uncovering the string ferrule holes from under the decals once the Poly dried. I wanted a little more resistance before drilling
the holes again, by hand, because I did not want the decals ripping while cutting. The dried Poly would give me the resistance
needed to ensure minor damage to the stickers.

The front of the guitar during the final stages of the build.
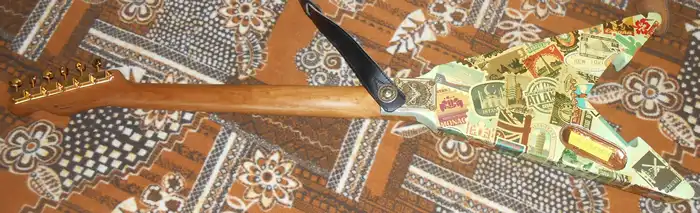
Here is the finished guitar from the back showing the strap "button", a low-profile fastener providing minuscule obstruction of
the hand at the lower end of the fretboard. The guitar strap attached is a four inch super wide Iconic Leathers black leather
double padded bass guitar strap offering ultimate comfort and stability.
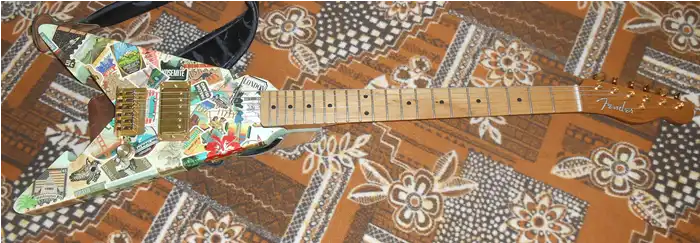
Here is a full view of the 3 lb. 14oz. Paulownia Flying V electric guitar with a roasted Fender Telecaster neck after completion.
And the completion of the decals, including the decals my sister brought back from Hawaii!
It is quite possible to make an exceptional guitar with quality parts and have it tip the scales at less than 4 lbs. If you have
a bad back, then building a guitar with a Paulownia body, a roasted neck and lightweight vintage tuners can be precisely what you
need to keep your love of music alive.
Add Comment
Insert Bullet List
Please enter at least one item.
Item:
Item:
Item:
Item:
Item:
Insert Numeric List
Please enter at least one item.
Item:
Item:
Item:
Item:
Item:
Insert Link
Please enter the link of the website
Optionally you can add display text
Insert Email
Please enter the email address
Optionally add any display text
Insert Image
Please enter the link of the image
Insert YouTube Video
Please enter the link of the video
Image Upload
Privacy Policy
This policy contains information about your privacy. By posting, you are declaring that you understand this policy:
- Your name, rating, website address, town, country, state and comment will be publicly displayed if entered.
- Aside from the data entered into these form fields, other stored data about your comment will include:
- Your IP address (not displayed)
- The time/date of your submission (displayed)
- Your email address will not be shared. It is collected for only two reasons:
- Administrative purposes, should a need to contact you arise.
- To inform you of new comments, should you subscribe to receive notifications.
- A cookie may be set on your computer. This is used to remember your inputs. It will expire by itself.
This policy is subject to change at any time and without notice.
Terms and Conditions
These terms and conditions contain rules about posting comments. By submitting a comment, you are declaring that you agree with these rules:
- Although the administrator will attempt to moderate comments, it is impossible for every comment to have been moderated at any given time.
- You acknowledge that all comments express the views and opinions of the original author and not those of the administrator.
- You agree not to post any material which is knowingly false, obscene, hateful, threatening, harassing or invasive of a person's privacy.
- The administrator has the right to edit, move or remove any comment for any reason and without notice.
Failure to comply with these rules may result in being banned from submitting further comments.
These terms and conditions are subject to change at any time and without notice.
{"commentics_url":"\/\/skoukor.com\/cmt\/","page_id":390,"enabled_country":true,"country_id":0,"enabled_state":true,"state_id":0,"enabled_upload":true,"maximum_upload_amount":3,"maximum_upload_size":5,"maximum_upload_total":5,"captcha":false,"captcha_url":"","cmtx_wait_for_comment":"cmtx_wait_for_comment","lang_error_file_num":"A maximum of %d files are allowed to be uploaded","lang_error_file_size":"Please upload files no bigger than %.1f MB in size","lang_error_file_total":"The total size of all files must be less than %.1f MB","lang_error_file_type":"Only image file types are allowed to be uploaded","lang_text_loading":"Loading ..","lang_placeholder_country":"Country","lang_placeholder_state":"State","lang_text_country_first":"Please select a country first","lang_button_submit":"Add Comment","lang_button_preview":"Preview","lang_button_remove":"Remove","lang_button_processing":"Please Wait.."}
{"commentics_url":"\/\/skoukor.com\/cmt\/","language":"english"}
|
Copyright © Skoukor Music 2025
|
||

|
||
Comments